
I decided to design & assemble this engine myself after the last debacle.
This block started life as an engine in a 1986 US model 928. This can be noticed by the thicker bores. There were also 2 mounting points in the valley that I have since ground off. The 1st thing I did was meticulously clean the block and remove the head studs. Then I separated the upper and lower portion of the block, and removed & cleaned the main studs. They were a bear to get out. This was followed installing a stock crank, rod and piston without rings to see what the deck height was. I did this by turning the crank to TDC for the cylinder I was checking, and measured it by using a dial indicator on a deck bridge. Using a deck bridge it was also easy to see how much protrusion could be caused by piston rock. I measured .002 protrusion above the deck height in all 4 holes.
I then chased all of the threaded holes on the block to make sure the threads were good, as well as clean.
The first stop was US Chrome. I sent them the block, & a new JE piston for boring. They bored and plated the cylinders with nikasil & shipped it back. The finished bore is 4.095 compared to the previous version of the block which had 4.090. I was told there was a 2 week turn around time and I was surprised when it was shipped out 16 days after they received it. Since this is my second time around on a 928 stroker project, I have quite a bit of experience with a number of machine shops and other vendors. Rarely do you see a business that is accurate at quoting timelines, costs and can actually do quality work. US Chrome was right on schedule, right on price and the quality was excellent. I was really impressed with their services. The cylinder finishes were all within 6/10,000th of an inch.... pretty darn close.
I went thru another 2 full days cleaning the block and chasing all of the threads with a tap. I did what any single guy would do who needed to clean an engine block...... (at least I put down rubber sheeting to protect the finish.)
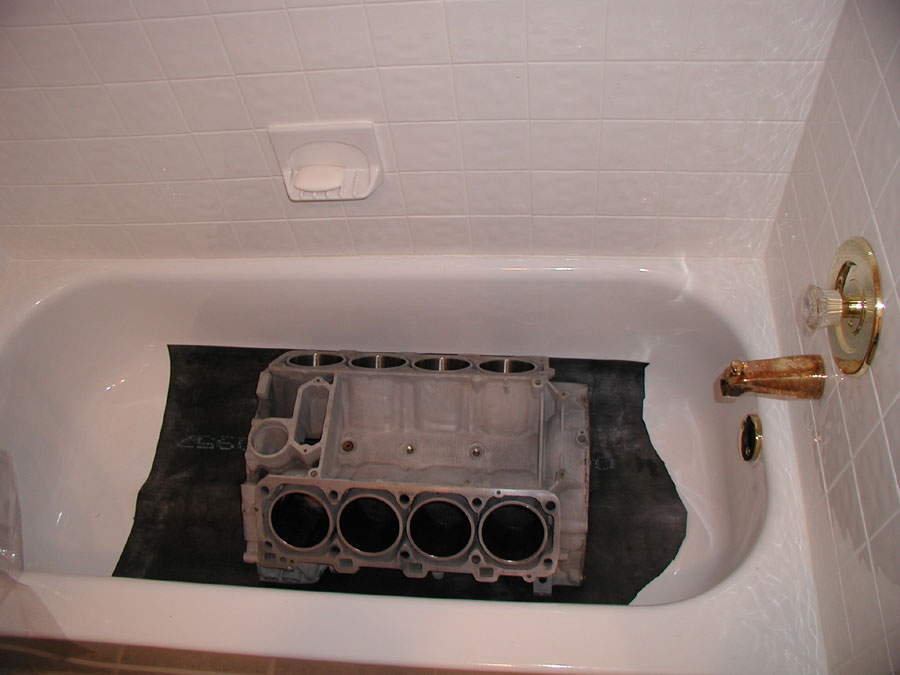
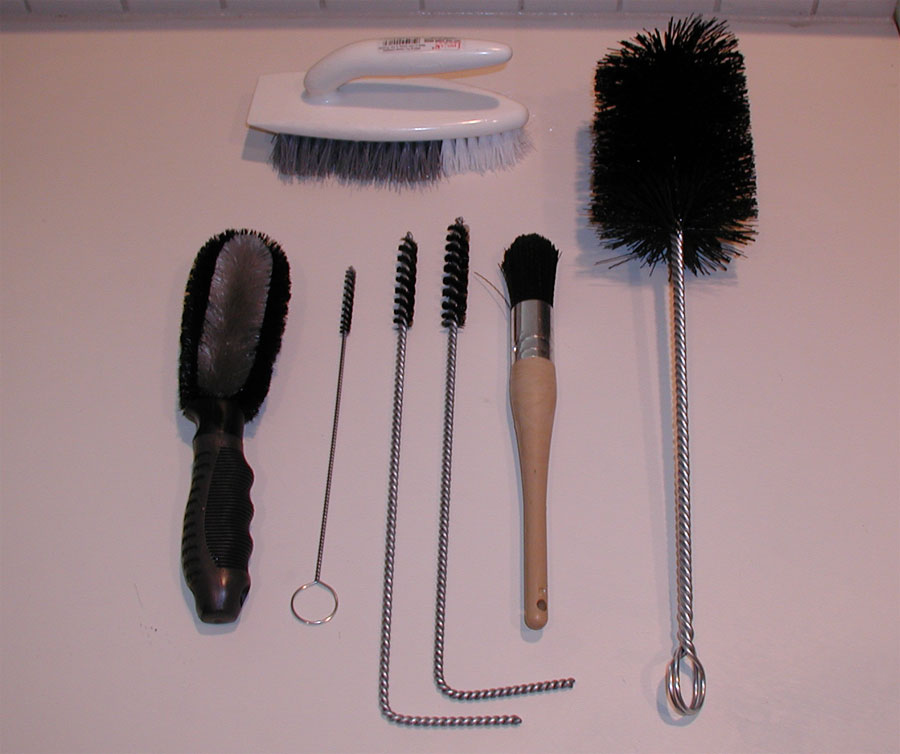
I thought the block was pretty clean but I was amazed at what would come out of it with plenty of soap & hot water.... not to mention lots of scrubbing with a variety of nylon brushes. I bought a kit of brushes specifically designed for cleaning engines. There were more brushes but these are the ones that I used.
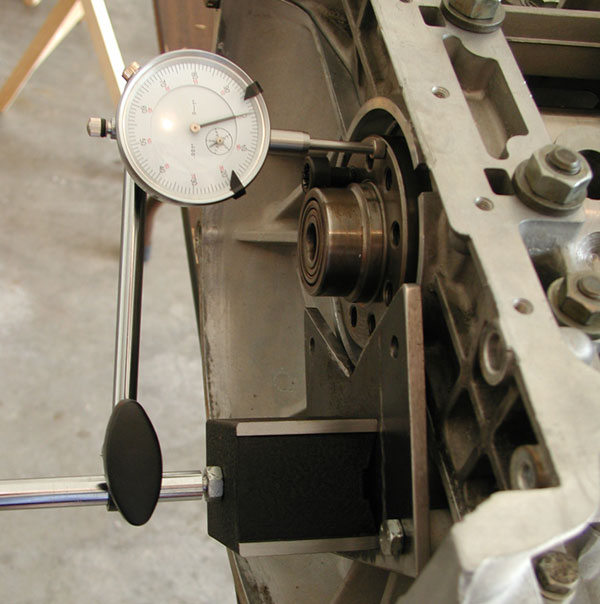
Then I put in the new main bearings and installed the crank with plenty of assembly lube on the main journals. I then checked the thrust play. It was well within specs. I documented the exact amount as I wanted to be able to check the differences after I put some mileage on the engine.
Then I installed the pistons on the wrist pins and rods so that I could do a full mock assembly. I went to Home Depot and bought 16 circlips with the little holes so that I could have something to hold the wrist pins in place. They were a little loose, but they served the purpose for the mock assembly. The JE wrist pin clips are a major pain to get out so I wanted something easier to remove.
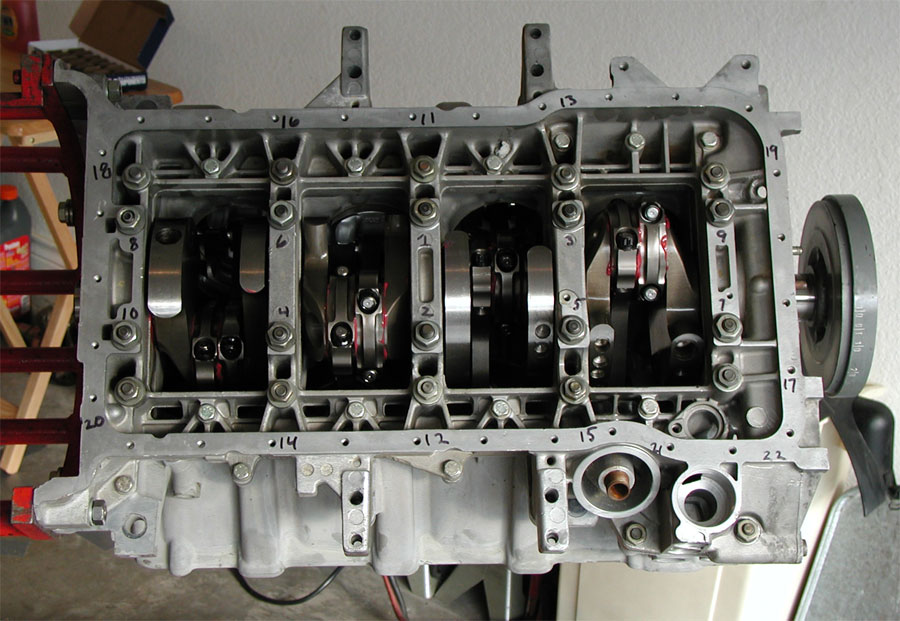
Here is a pic of the mock assembly.
When the pistons were installed with plenty of assembly lube on the rods and wrist pins, I oiled the bores well.

Then I had the crank, rods and pistons balanced, by a local shop & they cut my piston rings for me as well. This assembly was set up for internally balanced, vs the externally balanced version that was built by Norwood Performance of Dallas. The entire assembly was much lighter than the last version, or stock for that matter. I had decided to go with the factory harmonic balancer, as I had problems with the street dampener leaking..... and I wasn't too happy about externally balancing the 1st time around anyway. I also had the harmonic balancer zero balanced as well as the flywheel and the intermediate plate. This time around I saved almost 25 lbs on the rotating assembly by using lighter components..... The pistons were all within 7/10,000th of an inch of each other and so we selected each piston for each cylinder so that we would be as close to the same cylinder wall to piston tolerance. as possible.
Here are the Rods:
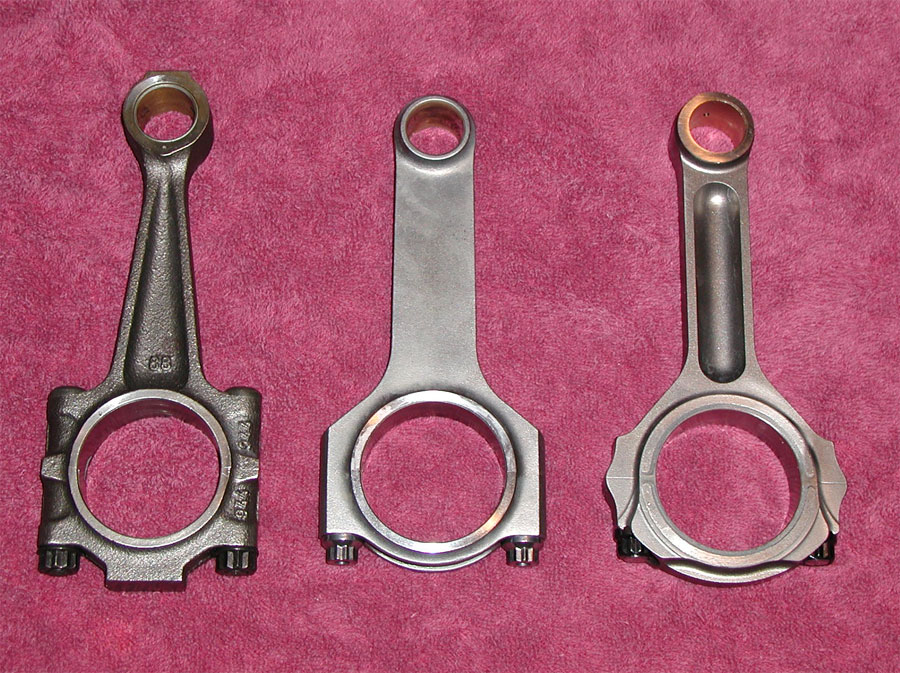
On the left is the stock rod (867.1 grams), center is the Ferrea Rod, (I'm not sure how much they weigh) and on the right is the Oliver Titanium rods (491.5 grams) being used this time around. The reason I had to go with new rods is that the old ones were 5.700 which is too short of a rod for this stroke. (wrong rod ratio) Since I was buying new rods I chose Oliver since I wouldn't have to clearance the block for them. I chose titanium as Norwood Performance had the counter weights machined down on the crankshaft so far on the 1st go around, that internally balancing would have been insanely expensive. Using the Titanium rods results in a lighter assembly requiring less weight added during balancing. So the weight savings was 375 grams per rod.... not to mention I got a great deal on them...... ( Thanks Guy~!)
Below are the Pistons:
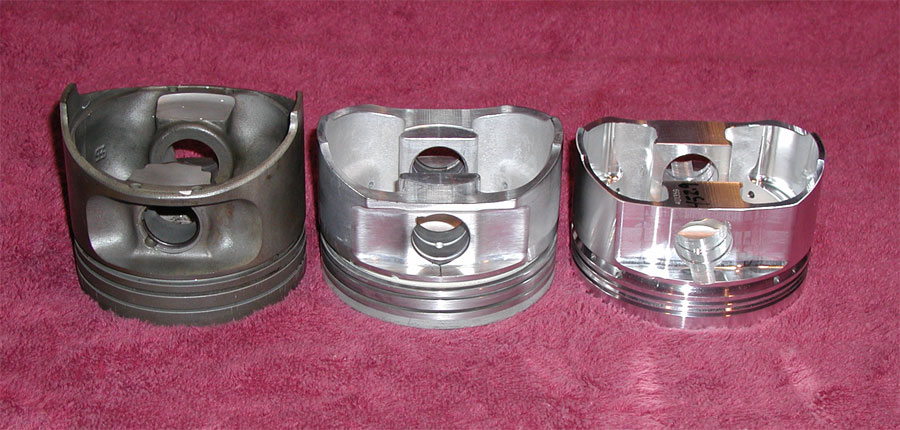
On the left is the stock piston (575g), center is the JE Piston (554g) used in the last engine, and on the right is the new JE piston (452g).

On the left is the stock Porsche wrist pin, (180g) center is the JE wrist pin (140g)from the 1st stroker engine, and on the right is the new wrist pin.... The new wrist pins are 9310 case hardened steel with a tapered wall finish. They weigh only 90 grams each.... They look really thin.... they are... the wall thickness is .120, but the manufacturer (JE Pistons) assured me that they will support 125 HP each, which would end up being 1000 HP on a V8....
For the final assembly I cleaned the block again, going thru many cycles soap, hot water and scrubbing. I then dried it with compressed air and lint free towels. Then I bolted it to the engine cradle which was loaned to me by David Roberts of 928 Specialists. (Thanks~!) This was followed by installing the main bearings and coating them with engine assembly lube. I then gently placed the crankshaft in place after lubing the front main bearing (one piece) and sliding it onto the nose of the crank.

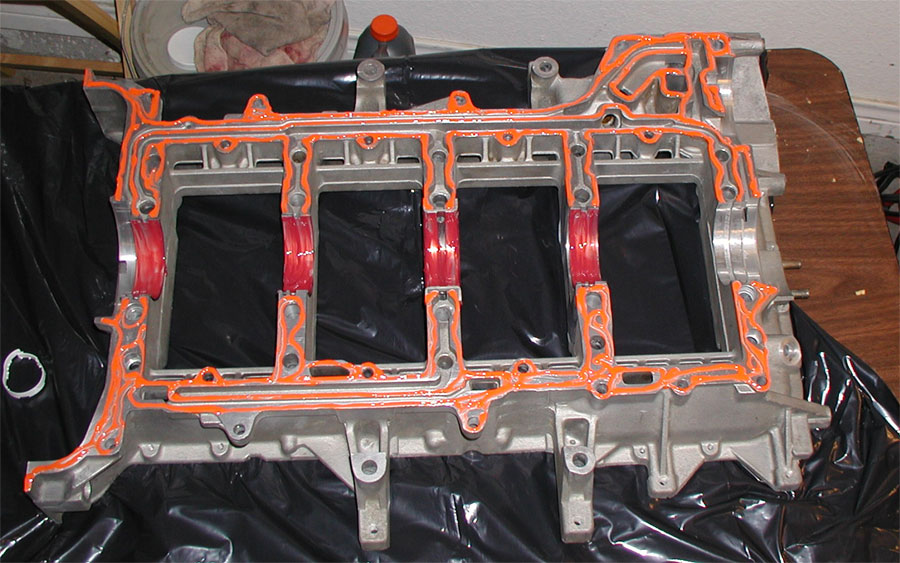
Then I installed the main studs, and prepared the lower block have by installing the main bearings & coating them with assembly lube. Then I put the block sealer on the lower block.
Then I torqued down the fasteners using the factory recommended pattern and torque values.
Then I installed the piston rings on the pistons, as well as the wrist pins, and rods. Then I installed the rod bearings and coated them with the assembly lube. I was a bit nervous about installing the pistons with rings as I had never done it before..... I used a piston ring compressor made by ARP. It worked really well. I coated the rings and the piston skirts with 3 in 1 oil as recommended by a ace engine builder (thanks Watt~!).
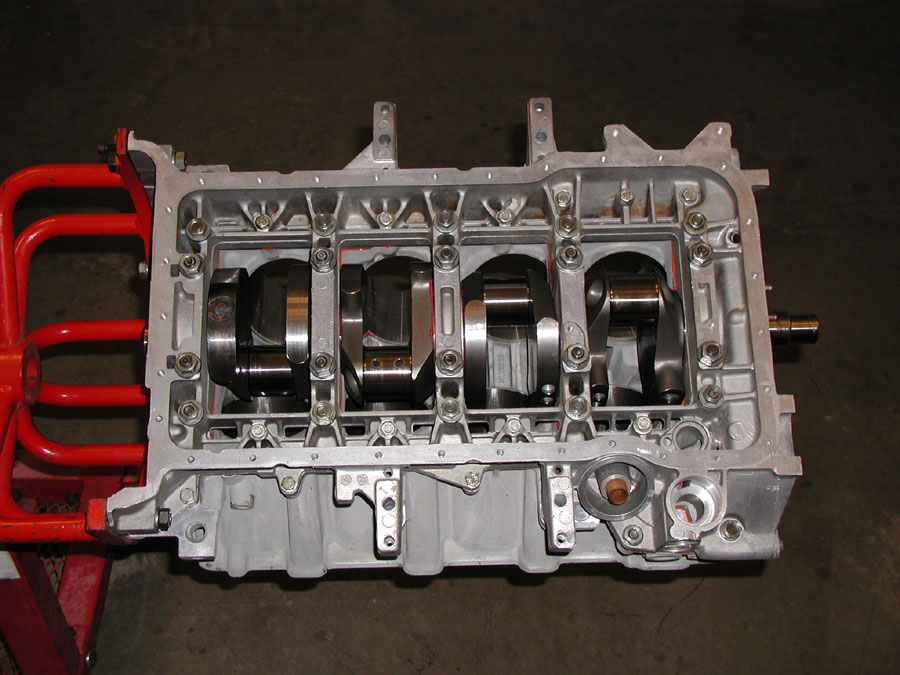
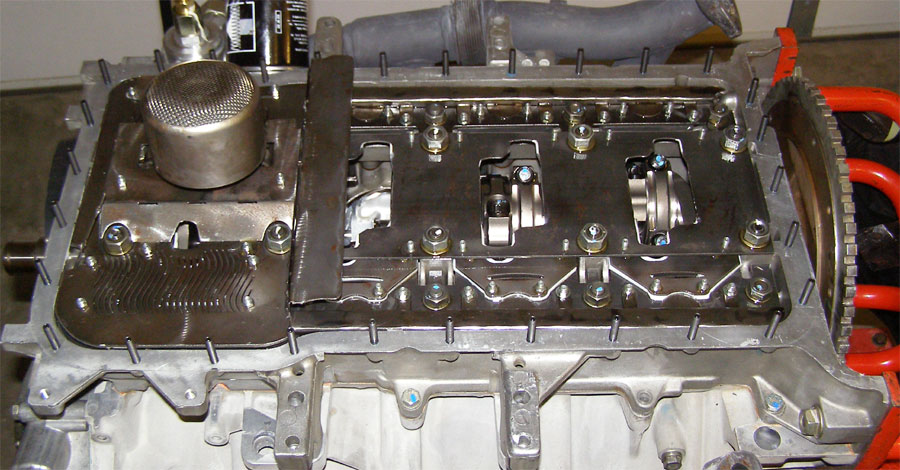
Here is a pic of the assembled engine to include the crank scrapper, windage tray, elevated oil baffle and my personal oil pan stud kit. There are some commercially available but I wanted studs that can be installed with an allen socket.
Heads
& VarioCam
![]()
![]()
![]()
![]()
![]()